One of the first things I talk about when teaching photography – whether it’s to complete beginners or more experienced shooters looking to refine their eye – is the rule of thirds. It’s a simple guideline, but it can transform the way you see and compose your images.
If you’ve ever looked at a photo and thought, “That just works,” chances are the photographer was using the rule of thirds, even if they didn’t realise it.

What is the Rule of Thirds?
Imagine dividing your image into a grid of nine equal sections by drawing two vertical lines and two horizontal lines across your frame—like a tic-tac-toe board. The idea is to place your subject or key points of interest along these lines or at their intersections.
Most cameras and smartphones have a grid option in their settings—turn it on, and suddenly you’ll see the world in thirds.


Why It Works
The rule of thirds works because it taps into how our brains process visual information.
Humans are hard-wired to look for patterns and balance, but we don’t always respond best to perfect symmetry. When everything is centred, the eye lands in one place and tends to stop there. By placing your subject off-centre, you create visual flow—your eyes naturally wander through the frame, taking in the scene.
There’s also a link to the Golden Ratio – a proportion found in nature, art, and architecture that humans find inherently pleasing. The rule of thirds is a simplified, easy-to-apply version of this same principle, which is why it often feels “right” even to someone who’s never heard of it.
Finally, the spacing created by the rule of thirds builds tension and energy in an image. Perfect symmetry can feel calm but static, while asymmetry adds a hint of movement – even in a still photograph. It’s the difference between a portrait that feels posed and one that feels alive.
How to Use It in Practice
When I’m out shooting – or teaching a session—I encourage people to think about:
- Identifying the main subject
Is it a person, a tree, a skyline, a plate of food? Know what you want the viewer to focus on. - Placing it along a grid line
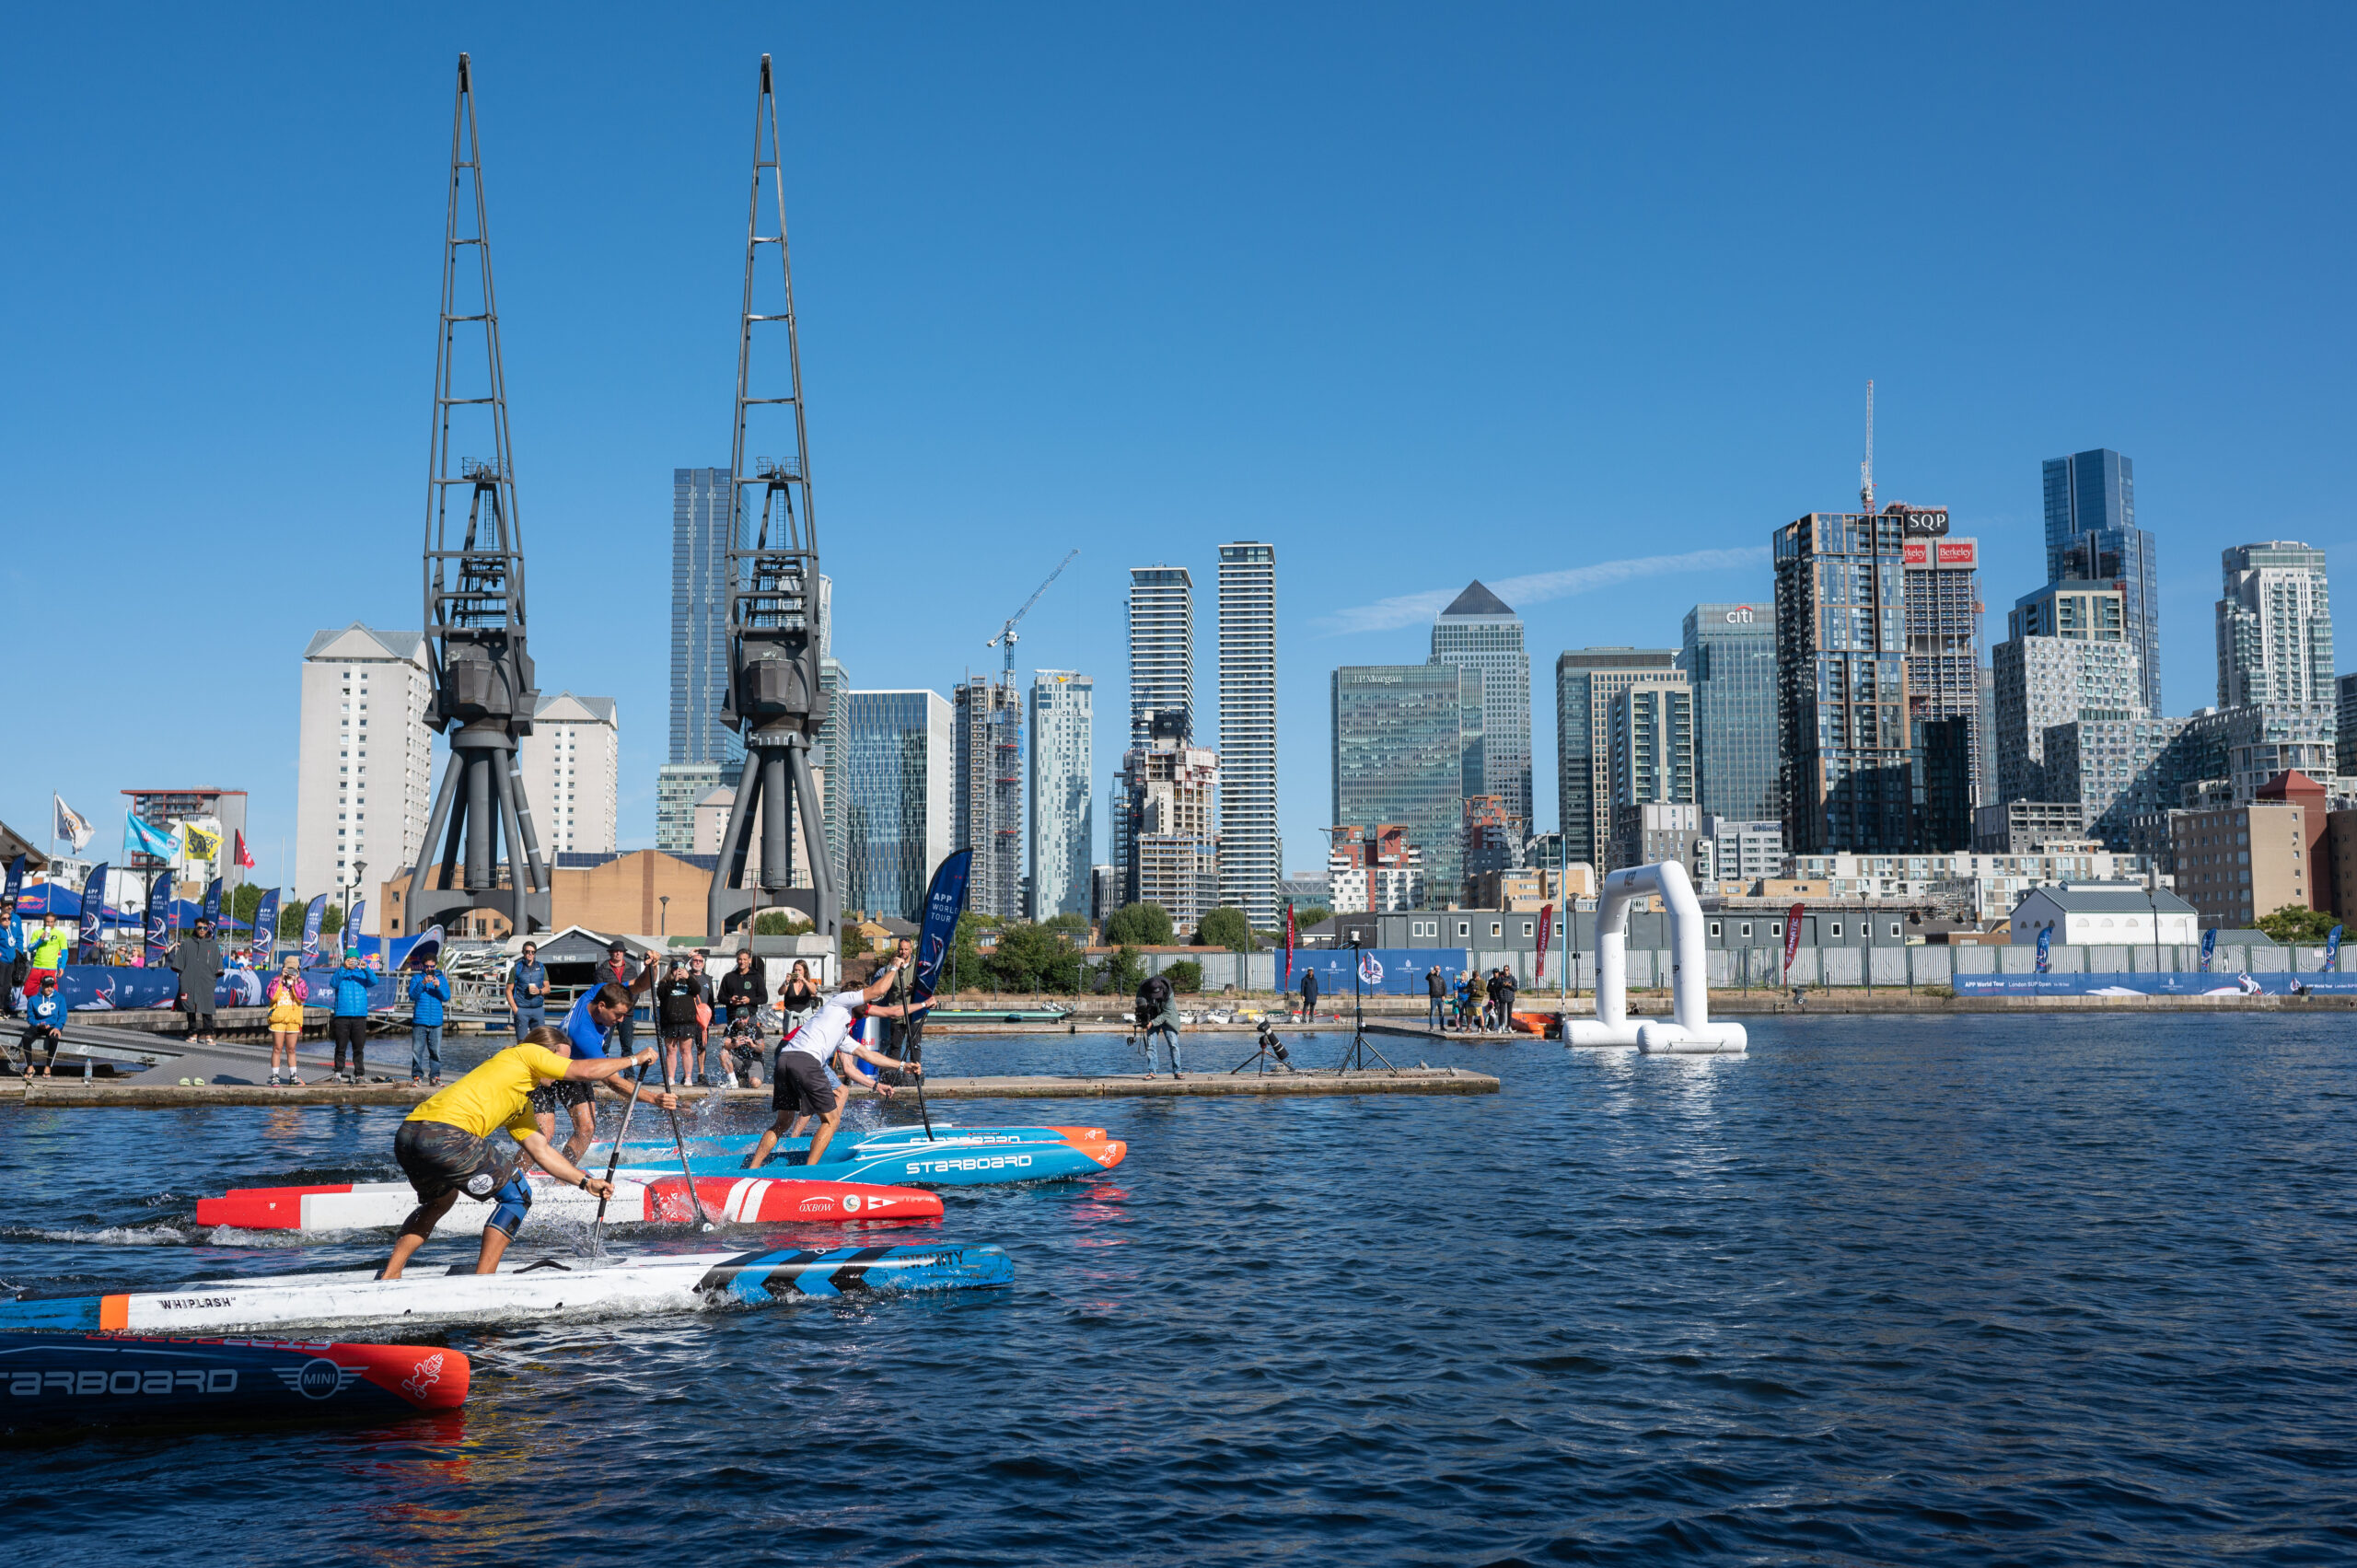
For example, in portraits, try placing the eyes along the top horizontal line. In landscapes, decide whether the sky or the land is more interesting and place the horizon accordingly. - Using intersections for impact
The points where the lines cross are powerful spots. Placing something there instantly draws attention. - Balancing with negative space
The “empty” areas in your frame help tell the story and give context. They can also set the mood—calm, dramatic, or expansive.

A Few Real-Life Examples
- Portrait photography: Place your subject off-centre, with their eyes along the top horizontal line and their body angled into the open space of the frame.
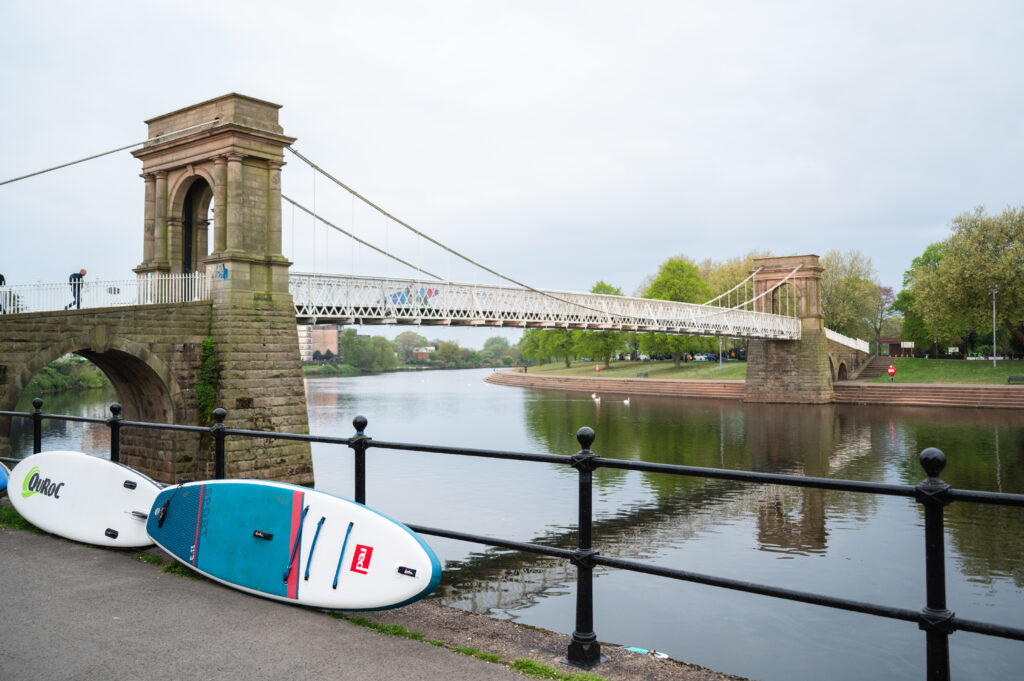
- Nature photography: Position a tree or mountain peak along a vertical third with open sky or landscape filling the rest.
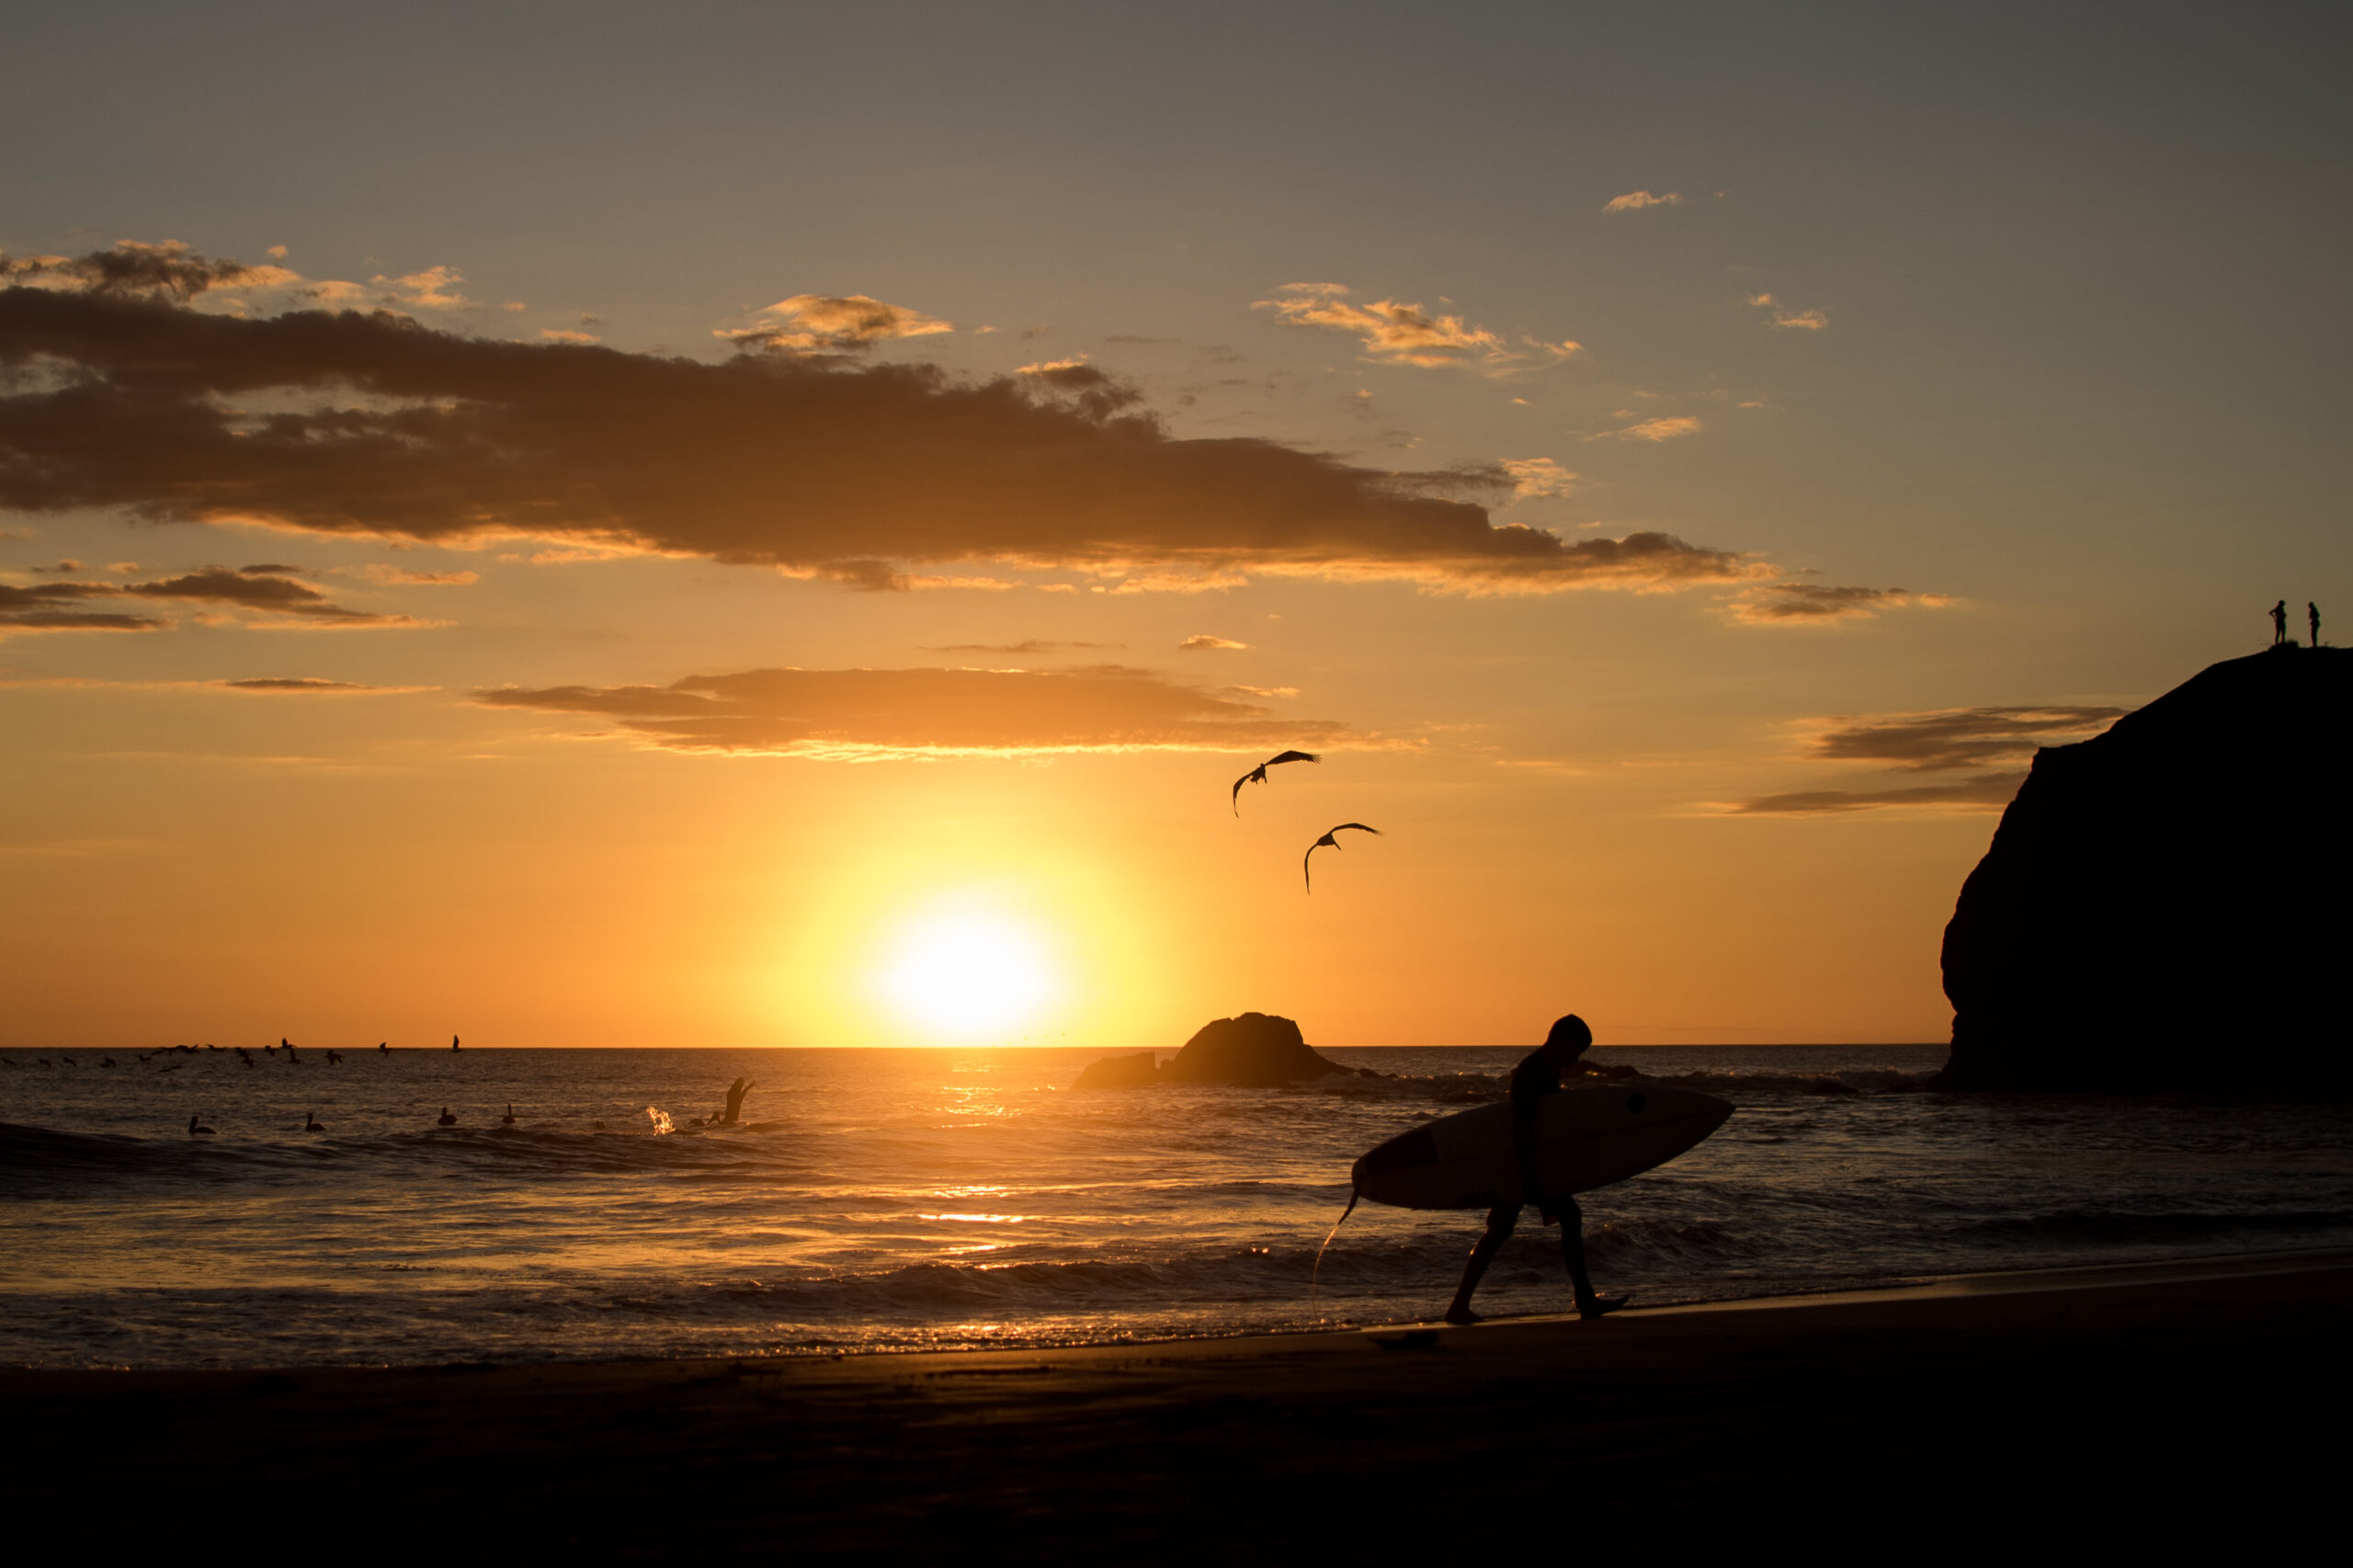
- Street photography: Capture movement in the “empty” two-thirds so your subject feels like they’re heading into the frame.
When to Break the Rule
Once you’ve mastered the rule of thirds, you’ll start to notice when breaking it creates something even stronger – like a symmetrical building shot dead centre or a dramatic close-up filling the entire frame. The “rule” is more of a suggestion than a law.
Try It This Week
If you want to get better at using the rule of thirds, here’s a simple exercise I set for my students:
- Spend an hour photographing everyday subjects—your morning coffee, your dog, your walk to the shop.
- For each subject, take one photo following the rule of thirds and one breaking it.
- Compare the results—you’ll quickly see how composition changes the feel of an image.

If you’d like more hands-on practice, I run relaxed, practical photography sessions where we cover composition, light, and camera settings in a way that makes sense—no jargon overload. The rule of thirds is just the beginning of learning to see like a photographer.
Where next on your photography journey?
If you’re ready to keep building your skills, explore more of our photography guides below. Each one dives into a different technique, helping you grow in confidence and creativity with every shot.
- Creative Ways to Use Shadows and Silhouettes in Your Photos

- Shutter Speed Explained: How to Freeze or Blur Motion in Your Photos

- Why You Should Use Aperture Priority Mode for More Creative Control
- Aperture Explained: How to Control Depth of Field and Focus
- Understanding ISO: How to Get the Best Exposure in Any Light
- Using Leading Lines to Guide the Viewer’s Eye in Your Photos
- Mastering the Rule of Thirds: How to Compose Your Shots


