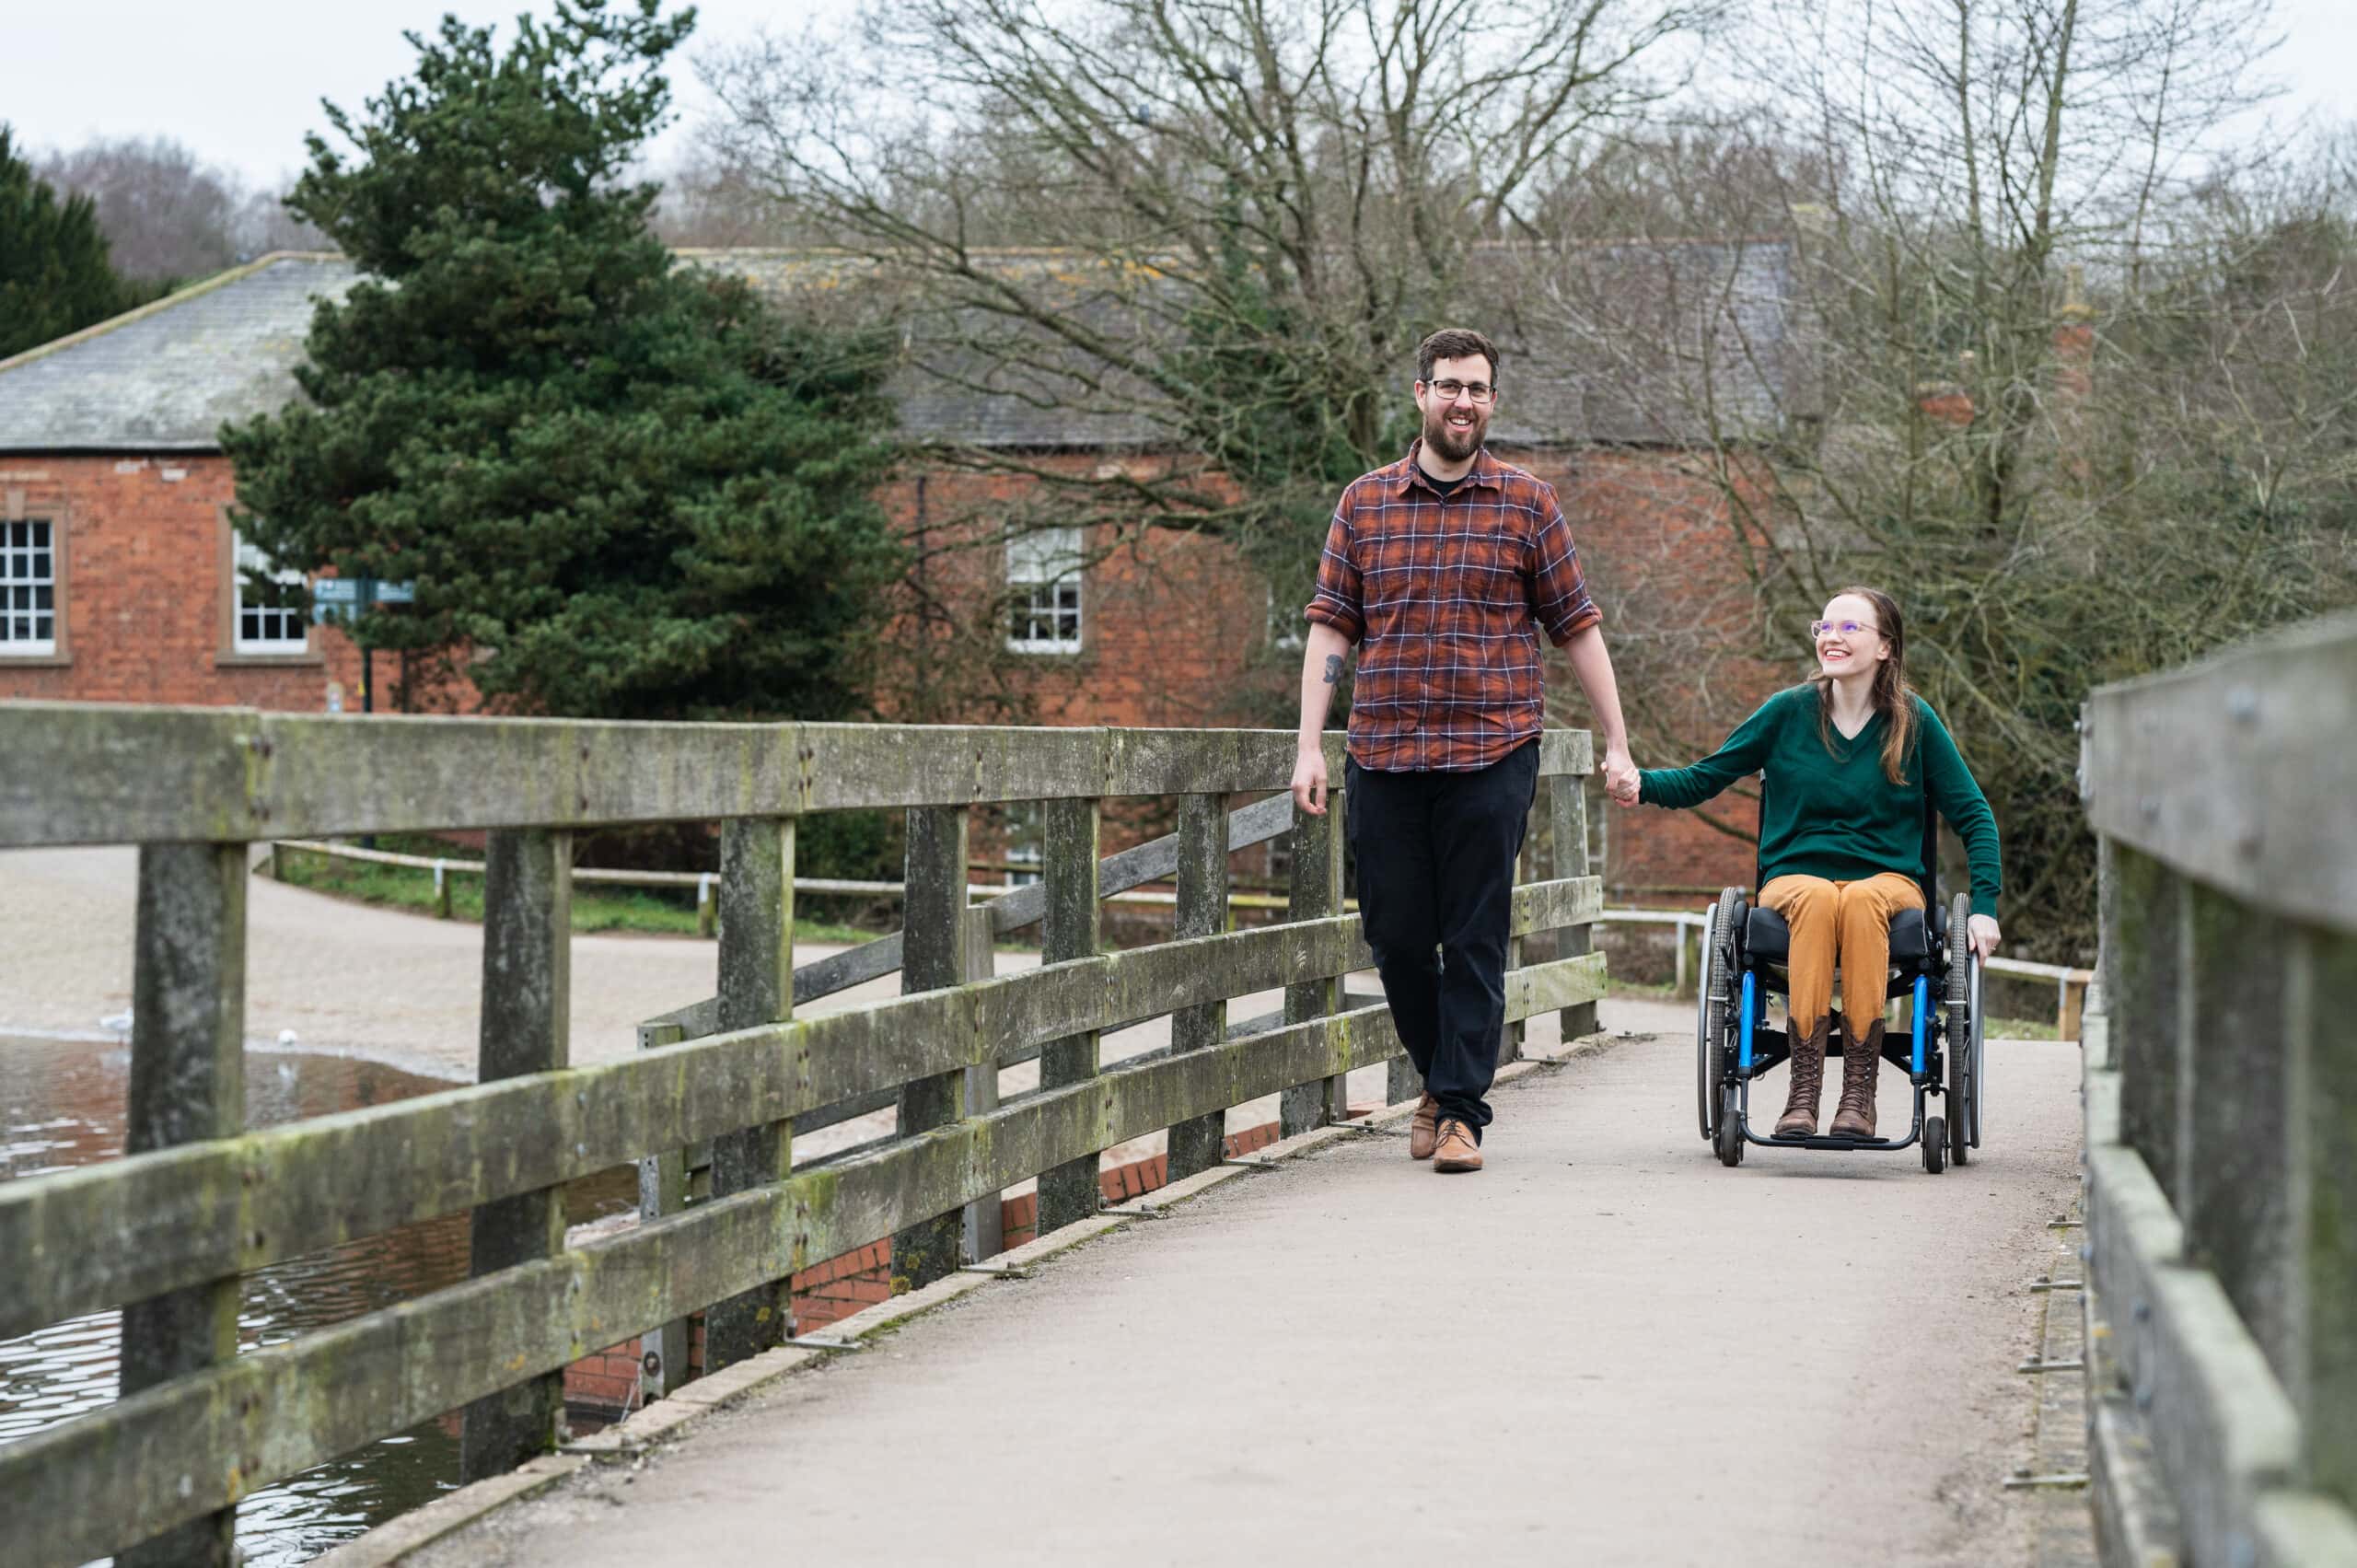
One of the simplest yet most powerful tools in photography is the leading line. If you’ve ever looked at a photo and found your eyes naturally following a path through the image, that’s leading lines in action. They’re a subtle but brilliant way to guide a viewer exactly where you want them to look.

What Are Leading Lines?
Leading lines are natural or man-made elements in a scene that create a visual path for the eye to follow. These could be roads, fences, rivers, rows of trees, or even shadows and beams of light.
The “line” doesn’t have to be perfectly straight—it can curve, zigzag, or spiral—as long as it leads the viewer towards your subject or deeper into the frame.

Why Leading Lines Work
Leading lines work because they take advantage of how our brains process images. Our eyes are naturally drawn to patterns and paths, and once they find a strong line, they’ll follow it—almost like reading a sentence in a book.
Psychologically, they help create depth and perspective, pulling the viewer into the scene rather than keeping them at the surface. They also help tell a story, suggesting a journey or connection between elements in your photo.
How to Use Leading Lines in Photography
When I’m photographing a wedding or teaching a session, I always encourage people to:
- Spot potential lines before you shoot
- Look for anything in the environment that naturally draws the eye—a path, a fence, a shoreline, or even the edges of shadows.
- Position your subject at the end of the line
- Placing your focal point where the lines converge ensures the viewer’s gaze lands exactly where you want it.
- Use lines to create depth
- Positioning lines in the foreground that lead into the midground or background can make the scene feel three-dimensional.
- Experiment with curves
- Curved lines can create a softer, more relaxed flow than straight lines, guiding the eye in a gentler way.

Tips for Stronger Leading Line Shots
- Get low: Shooting from a lower angle can make lines appear stronger and more dramatic.
- Watch for distractions: Make sure nothing in the frame pulls attention away from where the lines are pointing.
- Combine with other techniques: Try pairing leading lines with the rule of thirds for even more powerful compositions.
Try It This Week
Grab your camera (or phone) and spend a little time actively looking for lines—roads, railings, hedgerows, light patterns—and see how you can use them to guide the eye. Take a few shots from different angles and compare how the lines change the feel of the image.

If you’d like to explore composition techniques like this in more detail, I run relaxed, hands-on photography sessions where you can practice them in real locations. It’s one thing to read about them—but putting them into practice is where the magic happens.
Where next on your photography journey?
If you’re ready to keep building your skills, explore more of our photography guides below. Each one dives into a different technique, helping you grow in confidence and creativity with every shot.
- Creative Ways to Use Shadows and Silhouettes in Your Photos
- Shutter Speed Explained: How to Freeze or Blur Motion in Your Photos
- Why You Should Use Aperture Priority Mode for More Creative Control
- Aperture Explained: How to Control Depth of Field and Focus
- Understanding ISO: How to Get the Best Exposure in Any Light
- Using Leading Lines to Guide the Viewer’s Eye in Your Photos
- Mastering the Rule of Thirds: How to Compose Your Shots


