If you want more control over your camera without having to adjust every single setting for every shot, Aperture Priority Mode (often marked as “A” or “Av” on your camera’s mode dial) is one of the most useful options you can try.
It’s a favourite among both beginners who are moving away from full auto and experienced photographers who want to work quickly while still making creative choices.

What is Aperture Priority Mode?
In Aperture Priority Mode, you choose the aperture (f-stop) and your camera automatically sets the shutter speed to match, giving you a correct exposure.
Aperture controls two key things:
- How much light enters your lens
- How much of your image is in focus (depth of field)
If you’re not confident with aperture yet, you can check out my Aperture Explained: How to Control Depth of Field and Focus blog first.

Why Use Aperture Priority Mode?
Less to Think About
You set one creative variable (aperture), and the camera handles shutter speed automatically. This is especially handy if you’re still learning how shutter speed affects your images—see my Shutter Speed Explained post for more on that.
Creative Depth of Field Control
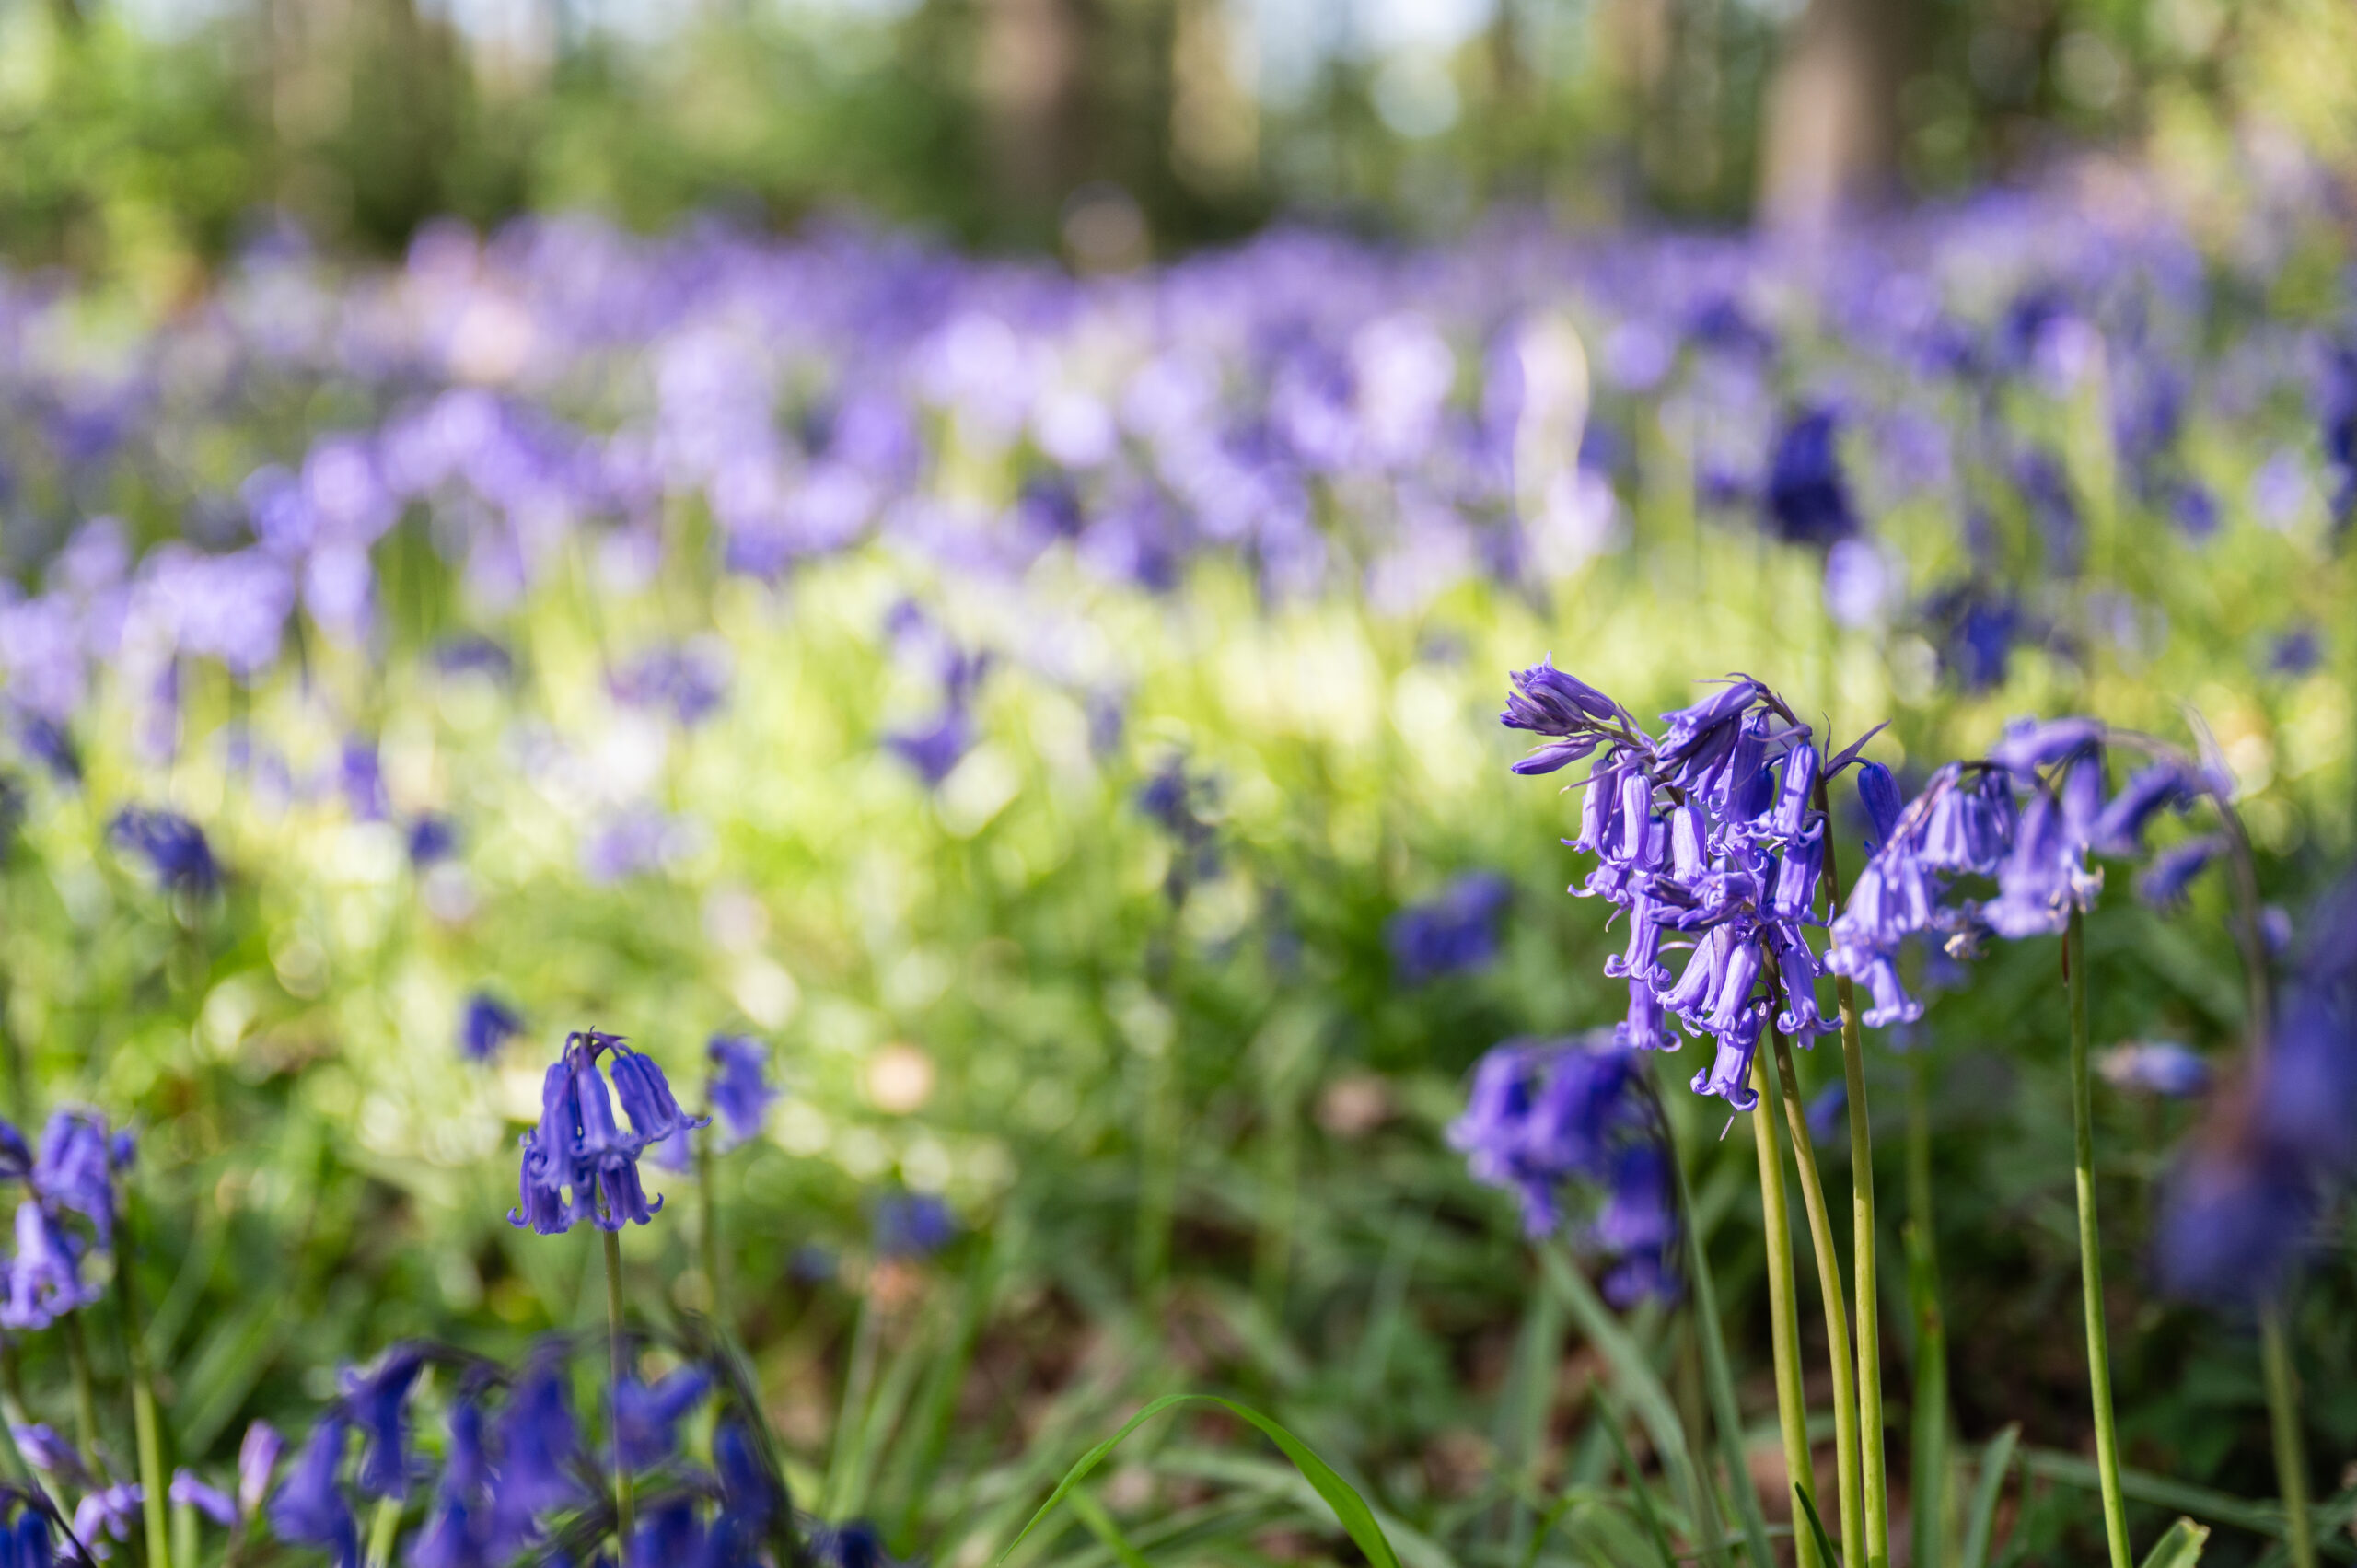
Decide whether you want a blurred background for portraits (wide aperture) or everything in sharp focus for landscapes (narrow aperture).
Speed and Simplicity
Great for situations where light changes quickly, like moving between indoor and outdoor locations.

When to Use Aperture Priority Mode
- Portraits – Keep the subject sharp and the background beautifully blurred.
- Landscapes – Ensure everything from foreground to horizon is in focus.
- Low Light Photography – Open up the aperture to let in more light without fiddling with multiple settings.
- Street Photography – Quickly adjust aperture for depth of field without missing the moment.


Tips for Getting the Best Results
- Keep an Eye on Shutter Speed
Your camera picks the shutter speed, but if the light is low, it might choose one that’s too slow, risking motion blur. Increase your ISO if needed—see my Understanding ISO: How to Get the Best Exposure in Any Light guide. - Use Exposure Compensation
If the image looks too bright or dark, use your camera’s exposure compensation dial to adjust without leaving Aperture Priority Mode. - Practice in Different Lighting
Try shooting in bright daylight, golden hour, and indoors to see how the mode behaves.
Why It’s Great for Creativity
Aperture Priority Mode gives you freedom to focus on composition and storytelling rather than juggling multiple settings. That means you can spend more time thinking about techniques like the Rule of Thirds or Using Leading Lines to guide your viewer’s eye, while still having creative control over depth of field.

Aperture Priority Mode is a fantastic stepping stone between auto and full manual, letting you experiment with creative choices without slowing down your shooting. Once you’re confident with it, you’ll find it much easier to move to full manual mode and take total control.
Where next on your photography journey?
If you’re ready to keep building your skills, explore more of our photography guides below. Each one dives into a different technique, helping you grow in confidence and creativity with every shot.
- Creative Ways to Use Shadows and Silhouettes in Your Photos

- Shutter Speed Explained: How to Freeze or Blur Motion in Your Photos

- Why You Should Use Aperture Priority Mode for More Creative Control
- Aperture Explained: How to Control Depth of Field and Focus
- Understanding ISO: How to Get the Best Exposure in Any Light
- Using Leading Lines to Guide the Viewer’s Eye in Your Photos
- Mastering the Rule of Thirds: How to Compose Your Shots


